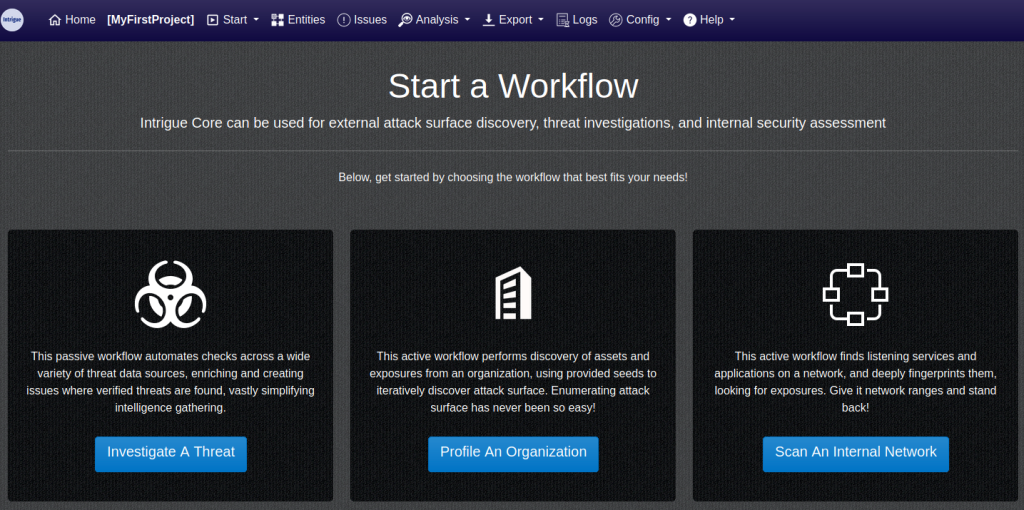
If you’ve made it here, you have a working installation of Intrigue Core and are ready to go. Browsing to Intrigue Core’s web interface for the first time will present the following view:

Intrigue Core requires creating a project before getting started. A project is a namespace for you to run tasks, and a place to collect entities and issues created by those tasks. It can be specific to an organization, an investigation, or just a set of related entities.
Workflows
Creating a new project will automatically redirect you to the project homepage. This page enables you to run workflows, individual tasks, export your data, configure your project etc. It looks as follows:
Intrigue Core comes with three pre-configured workflows:
- Investigate a Threat
- Profile an Organization
- Scan an Internal Network
Workflows dictate which tasks are run for a specific type of entity – every time the type of entity is discovered. They are yaml files with a list of tasks per entity type. The workflow yaml configuration for profiling an organization can be found here.
Workflows enable “fire and forget” assessments, and will quickly populate Intrigue Core with entities and issues. To start a workflow, click on the respective button and enter the starting points (or seeds) for your organization. Include every known entity at the start of an assessment for the best results:
Tasks
Besides running a workflow, Intrigue Core enables running a single task. Tasks can be thought of as one-off scripts, and they aim to do one thing and do it well. To start a task, click on “Start -> Run a Single Task” in the menu bar:
The extensive list of tasks should give you an idea of its purpose through the name. Once selected, a description will provide more details and references for additional information. Every task requires an entity on which it will perform its operations. Tasks specify which types of entities they accept, and only those are given as options. Tasks can also have user options, which can be used to configure and control the task flow.
Here is an example of running the task “DNS DKIM Lookup” on intrigue.io. There is one user option named “create_domain” which specifies whether the domain should be created as an entity. The user also has the option to run a workflow on all entities discovered by this task:
Clicking “Run Task” will redirect you to the results page, and you’ll see that this page provides both a set of information about the task, as well as a complete log. Tasks may generate issues related to the entity given as input, however, they may also generate further entities. These are entities that can be iterated further upon via tasks or workflows. The entities and issues discovered by this task are shown in the left hand side under “Entities” and “Issues” respectively:
Entities
Entities are Intrigue’s way of presenting data that represent real-world objects. Entities can be accessed via the top menu bar. To create entities, a task named “create entity” can be used. There are many different entities such as Domain, IpAddress, AndroidApp, GithubAccount etc. A full list of supported entity types can be found here.
The entities page presents all entities discovered (or created) for that particular project:

On the left side there are options for exporting, searching or filtering entities based on type and/or other criteria. The “Group View” combines entities that related to one another, for example a domain that resolves to an ip address.
For each entity, the table includes the following columns with metadata:
- name – the entity name and type
- details – additional details about the entity, for example what technologies were detected on it
- enriched – whether the entity has been enriched with Intrigue Core’s default discovery activities for that entity type
- hidden – whether the entity is a known unrelated item (for example, an ip address known to belong to cloudflare) and therefore hidden from the view (by default, these are not shown)
- scoped – whether the entity is in-scope based on the seeds configured for this project.
Clicking on an entity will show all the details specific to it, as well as offer the ability to run a new task on the entity:
The entity details page shows tasks that created (or found) this entity and tasks that were run on this entity. Additionally, this page shows other entities discovered by scanning this particular entity. Clicking on any of the task links will redirect to the task log as seen previously.
Issues
Related to entities are Issues – Issues are Intrigue’s way of representing that some action is needed on an entity. An issue can be a vulnerability, a misconfiguration, a data leak or something else gone wrong. Issues are also accessed via the top menu bar:
This page lists all issues for entities of the particular project. Each issue in the listing includes the following details:
- Name – a descriptive name for the issue
- Entity – what entity was this issue discovered on
- Status – the confidence of Intrigue Core for the true existence of this issue
- Severity – the issue severity
- Scoped – whether the entity this issue was discovered on is in-scope, based on the seeds configured for this project
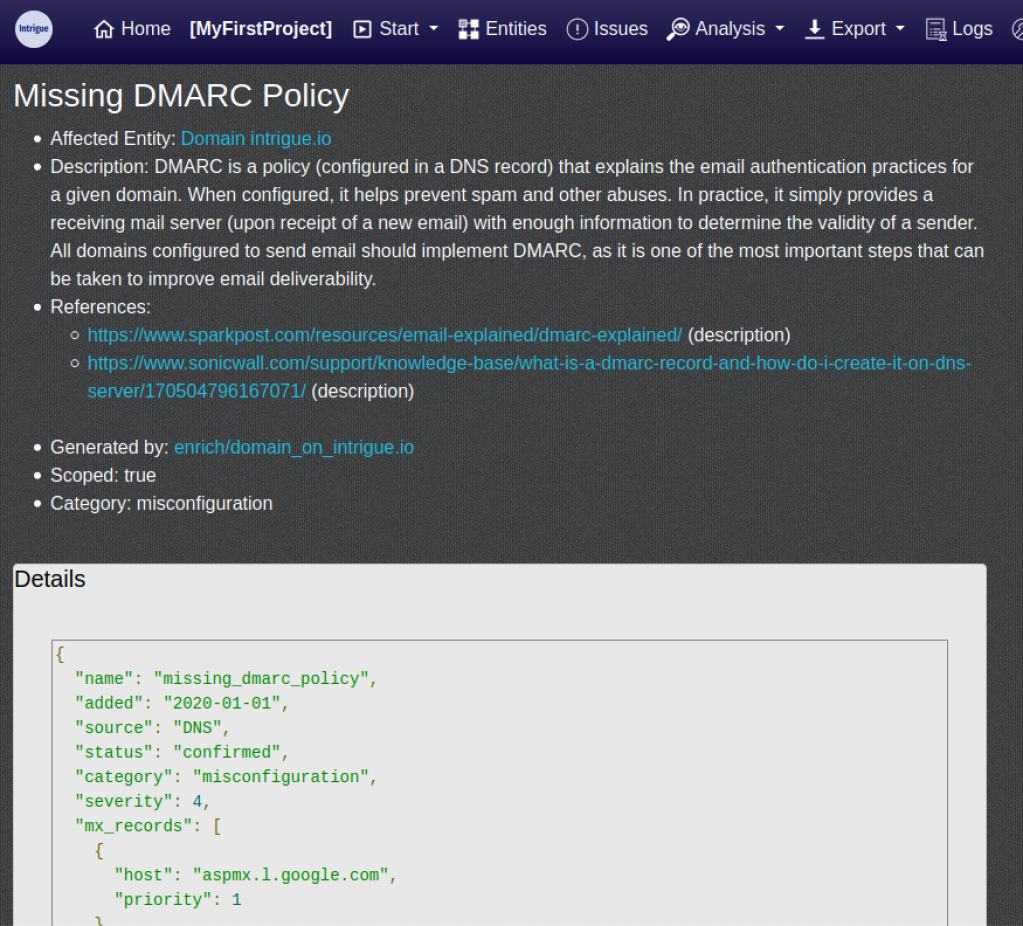
Clicking on the issue name will show the issue details page, which contains further information and references for that particular issue:
Analysis
Intrigue Core provides various methods for displaying the discovered data. The different views are accessed via the “Analysis” menu item in the top menu bar.
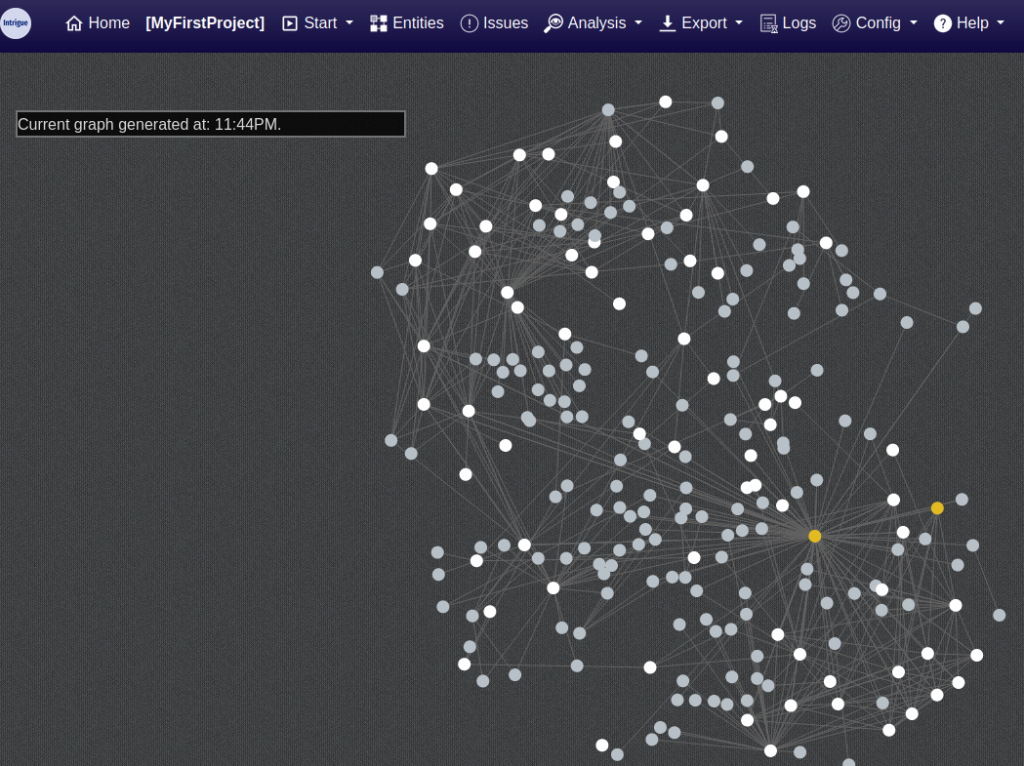
The “Graph” view provides a graphical representation of all entities and their relationships to one another. Graphs are generated on pageview. If you don’t see the graph on first visit, just wait a couple of seconds and refresh the page. Note that if you’ve got more than a few thousand entities in your project, this graph will currently fail to render except on the beefiest of machines.
Other analysis views present the entire data-set of the project in different forms. For example, “Apps” will show all web applications including information such as domain, ip address, what software is running and whether it is an api or not:
Analysis views are a useful method for looking at the entire data-set in a meaningful way, so make sure to check out all the different views!
Other System Functionality
Finally, Intrigue Core offers functionality to enable system configuration, logs and exports.
Exporting can be initiated via the “Export” menu in the top menu bar. Intrigue Core offers exports in json and csv file formats. Exports may include all entities, only applications or issues, or just the project graph.
The “Logs” menu item shows a list of currently running as well as completed tasks. The list of tasks show the task name, the entity it was run on, and the number of entities that were discovered by it:
Finally, the “Config” menu item enables access to various configuration settings of the project and system as a whole. For example, the system config can be used to change the username/password combination of Intrigue Core while the sidekiq configuration enables management of sidekiq queues.
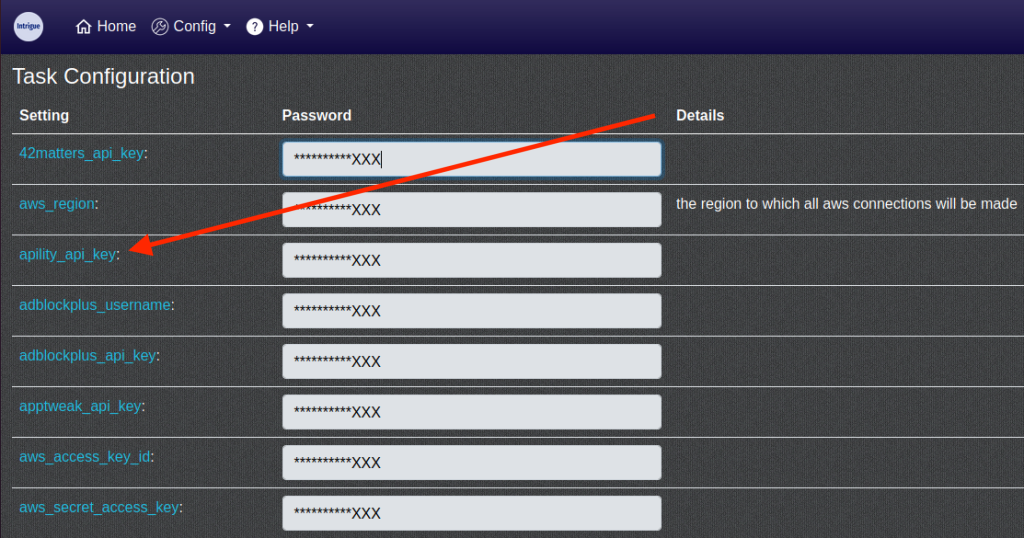
Important Note! Many tasks will require an API key – which you configure in the “Config -> Task Config”. Each listing has a handy link to the configuration, making it easy to provision an API key:
That’s it, we hope that this guide will help you to get started in your digital discovery endeavors. Have fun and please jump in the Support channel if you have troubles or want to learn more!


